Well we are finally getting to the floors. We saved The best for last. Ha Ha Ha! So we rented a heavy duty sander from a local hardware store and 2 days later...Ta Da! We are so happy with the result. We don't think these floors are original, under most of the floors are 5" wide planks. Those are more likely to be the original floors. Someone did cover them in oak, downstairs. The upstairs is mostly pine, which is pretty common for attic floors.
You can see in some of the pictures the floors appeared wet. After we sanded it was my job to go through and sweep and mop, and sweep and mop the floors to get ready for the stain.
 |
| Kitchen area |
 |
| Hall adjacent from kitchen, still wet |
 |
| Hall to master bedroom/closet |
 |
| Master bedroom |
The floors in the south room look pretty good considering we found that the previous owners just polyurethaned up to the rug in this particular room.
 |
| South room |
 |
| South room |
 |
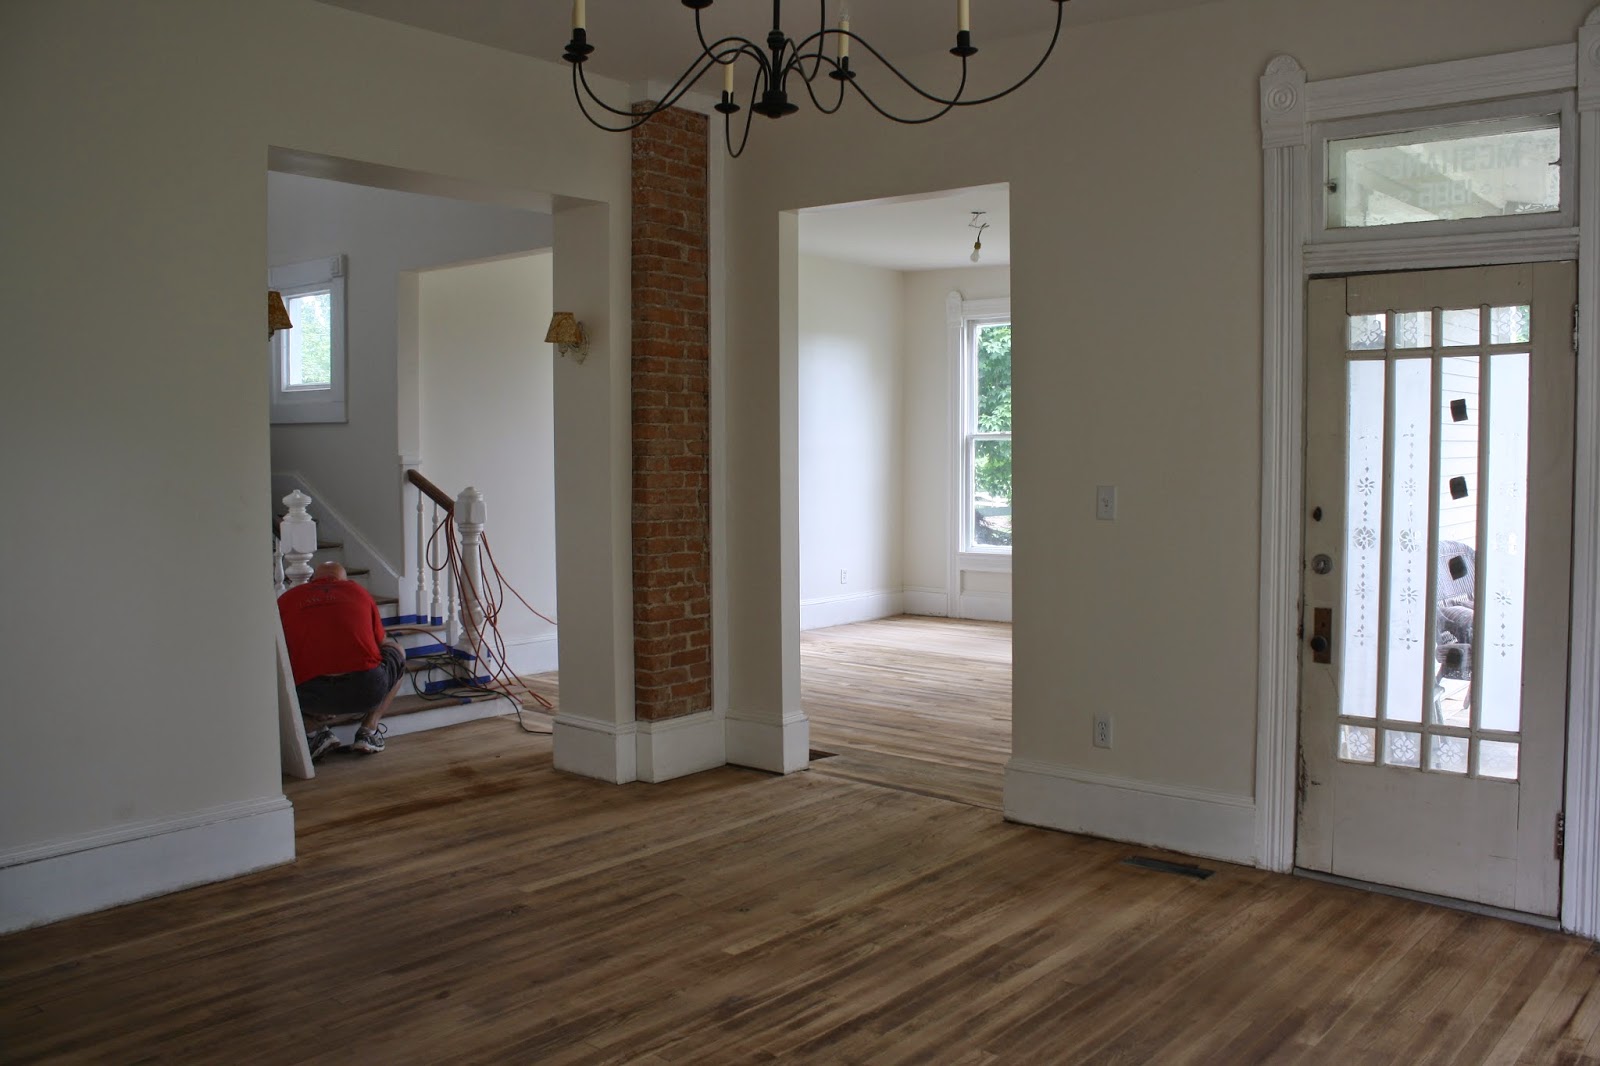
| Front room |
 |
| Looking in the house |
 |
| I'm standing in the bay window area |
The kitchen is an interesting problem. The eating are is oak and the work area is pine. I had to think of a solution so the floors would look good together.
 |
| Kitchen |
 |
| Pocket door into laundry room |
Then we started staining upstairs. Ugh! This was a disaster! I only have one picture...the picture below is it. You can see the color by the windows is MUCH lighter than where I am standing. Essentially the stain did not get stirred really good. So it was much more concentrated at the bottom of the can. We had already stained the front room. So....we had a choice to either go rent the sander again and sand it all off, which would mean we had to stop polyurethaning the downstairs. So I went back and slept on it. The next day woke up an knew I hated the stained floors so I decided to paint them!!!
The attic space got just 3 coats of poly and they looked great. I love them!!
The rest of the upstairs got 2 coats of white primer, and one coat of poly.
 |
| The landing looking into front room |
 |
| Bay window room |
I also painted the new wood in our hallway so I didn't have any other stain issues. I really like it also. Sometimes when life throws you a curve ball you just roll with it.
We just applied polyurethane to the downstairs...I was done with stain at this point!!!
 |
| Front room |
 |
| Front room |
 |
| Upstairs with a coat of poly on them. I love this too! |
With the kitchen floor being yellow pine sub floor, I could just put poly on it. It would just look yellow. So I ran back tot he store and found a stain called sun bleached. I stared wiping it on and I immediatly loved it.
It looks really gray here but it actually just added an aged look to the wood floor. It looks like a floor from a beach house. Kinda love it more every time I walk into the kitchen.
 |
| Master bedroom |
 |
| Master bedroom looking out into the hall |
 |
| Master closet |
 |
| Master hallway |
 |
| Kitchen |
 |
| Kitchen (look at all the junk on the island??!!) |
 |
| front bedroom upstairs |
 |
| Another view |
 |
| Front room view from the door |
 |
| Bay window room from door |
 |
| Another view of bay window room |
 |
| View from the window |
 |
| Attic space |
 |
| Attic space |